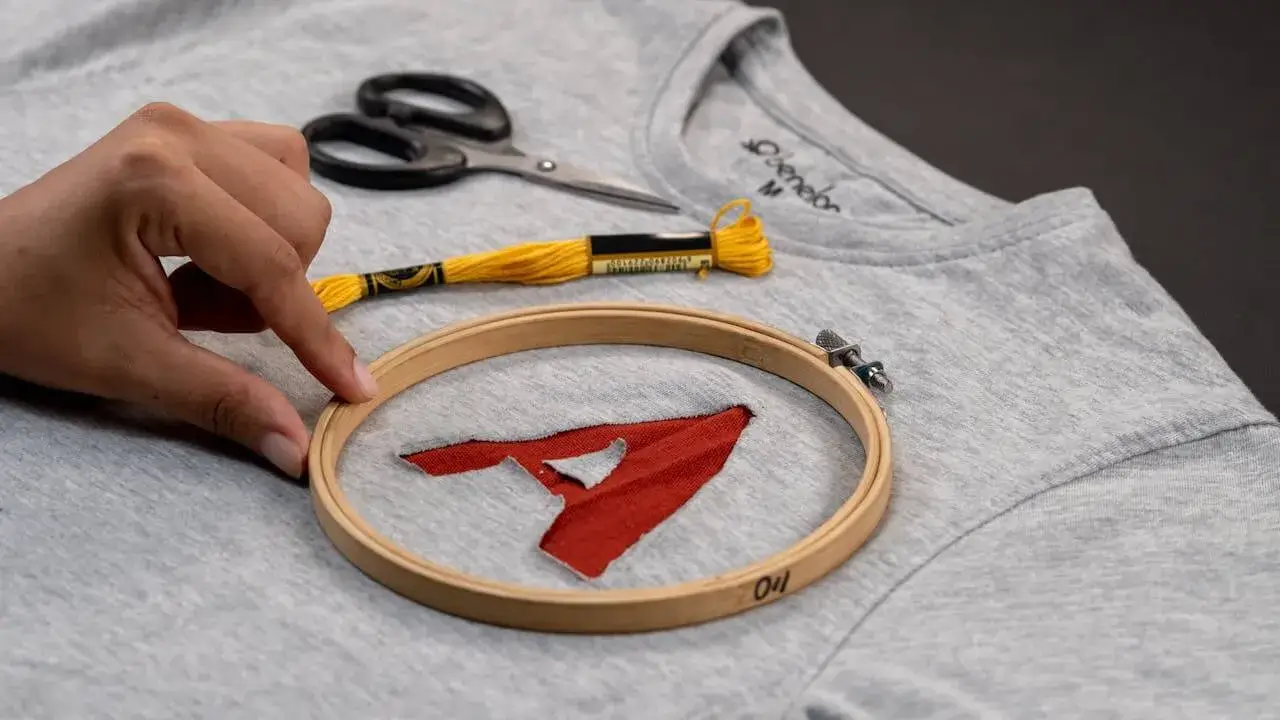
If you’ve ever wondered how a business logo ends up perfectly stitched onto a polo shirt or uniform cap — the answer is embroidery digitizing. It’s the process that bridges the gap between a digital image and a physical stitch-out, and it’s far more technical than most people realise.
In this guide, we’ll walk you through exactly what embroidery digitizing is, how it works, and why the quality of digitizing makes or breaks your final embroidered product.
What Is Embroidery Digitizing?
Embroidery digitizing is the process of converting artwork — such as a logo, illustration, or text — into a stitch file that an embroidery machine can read and execute. The digitizer (either a person or software) maps out every single stitch: its type, direction, length, density, and sequence.
The result is a file format like .DST, .PES, or .JEF that tells the machine exactly where to place each needle penetration. Think of it like giving the machine a detailed instruction manual for recreating your design in thread.
How Does the Process Work?
Step 1: Artwork Preparation
The process starts with your design file — ideally a high-resolution image or vector file (AI, EPS, PDF, or high-quality PNG/JPG). The clearer the artwork, the more accurate the digitizing.
Step 2: Manual Digitizing
A professional digitizer opens the artwork in digitizing software (such as Wilcom, Hatch, or Tajima DG) and manually traces each element of the design. They assign stitch types — satin, fill, running — and set underlay, density, and pull compensation values.
Step 3: File Output & Testing
Once complete, the file is output in the required format, ideally test-stitched on a similar fabric to verify quality before delivery.
Auto-Digitizing vs Professional Digitizing
Auto-digitizing tools use AI to convert images to stitch files automatically. While they’ve improved, they consistently produce files with problems: incorrect stitch direction, poor density, inadequate underlay, and missing pull compensation. The result? Thread breaks, puckering fabric, and designs that don’t look right on the final garment.
Professional digitizing — done by a trained human — accounts for fabric type, garment placement, and machine capabilities. The stitch-out looks clean, runs without interruptions, and represents your brand properly.
Common Stitch Types Explained
- Running Stitch: A simple line stitch used for outlines and fine details
- Satin Stitch: Parallel stitches that create smooth, shiny fills — ideal for text and borders
- Fill/Tatami Stitch: Used for large areas; stitches are offset in rows to avoid gaps
- 3D Puff Stitch: Runs over a foam insert to create a raised, dimensional effect
What File Formats Will You Receive?
Different embroidery machines require different file formats. Common formats include:
- DST — Tajima machines (industry standard)
- PES — Brother machines
- JEF — Janome machines
- EXP — Melco/Barudan
- XXX — Singer
- HUS — Husqvarna Viking
A professional digitizing service will deliver the exact format your machine needs — or multiple formats if requested.
Final Thoughts
Embroidery digitizing is the invisible foundation of every great embroidered product. Whether you’re decorating uniforms, merchandise, or custom apparel, the quality of your digitizing directly determines the quality of your stitch-out. Investing in professional digitizing isn’t an added cost — it’s the difference between an embroidered product you’re proud to wear and one you’d rather hide.