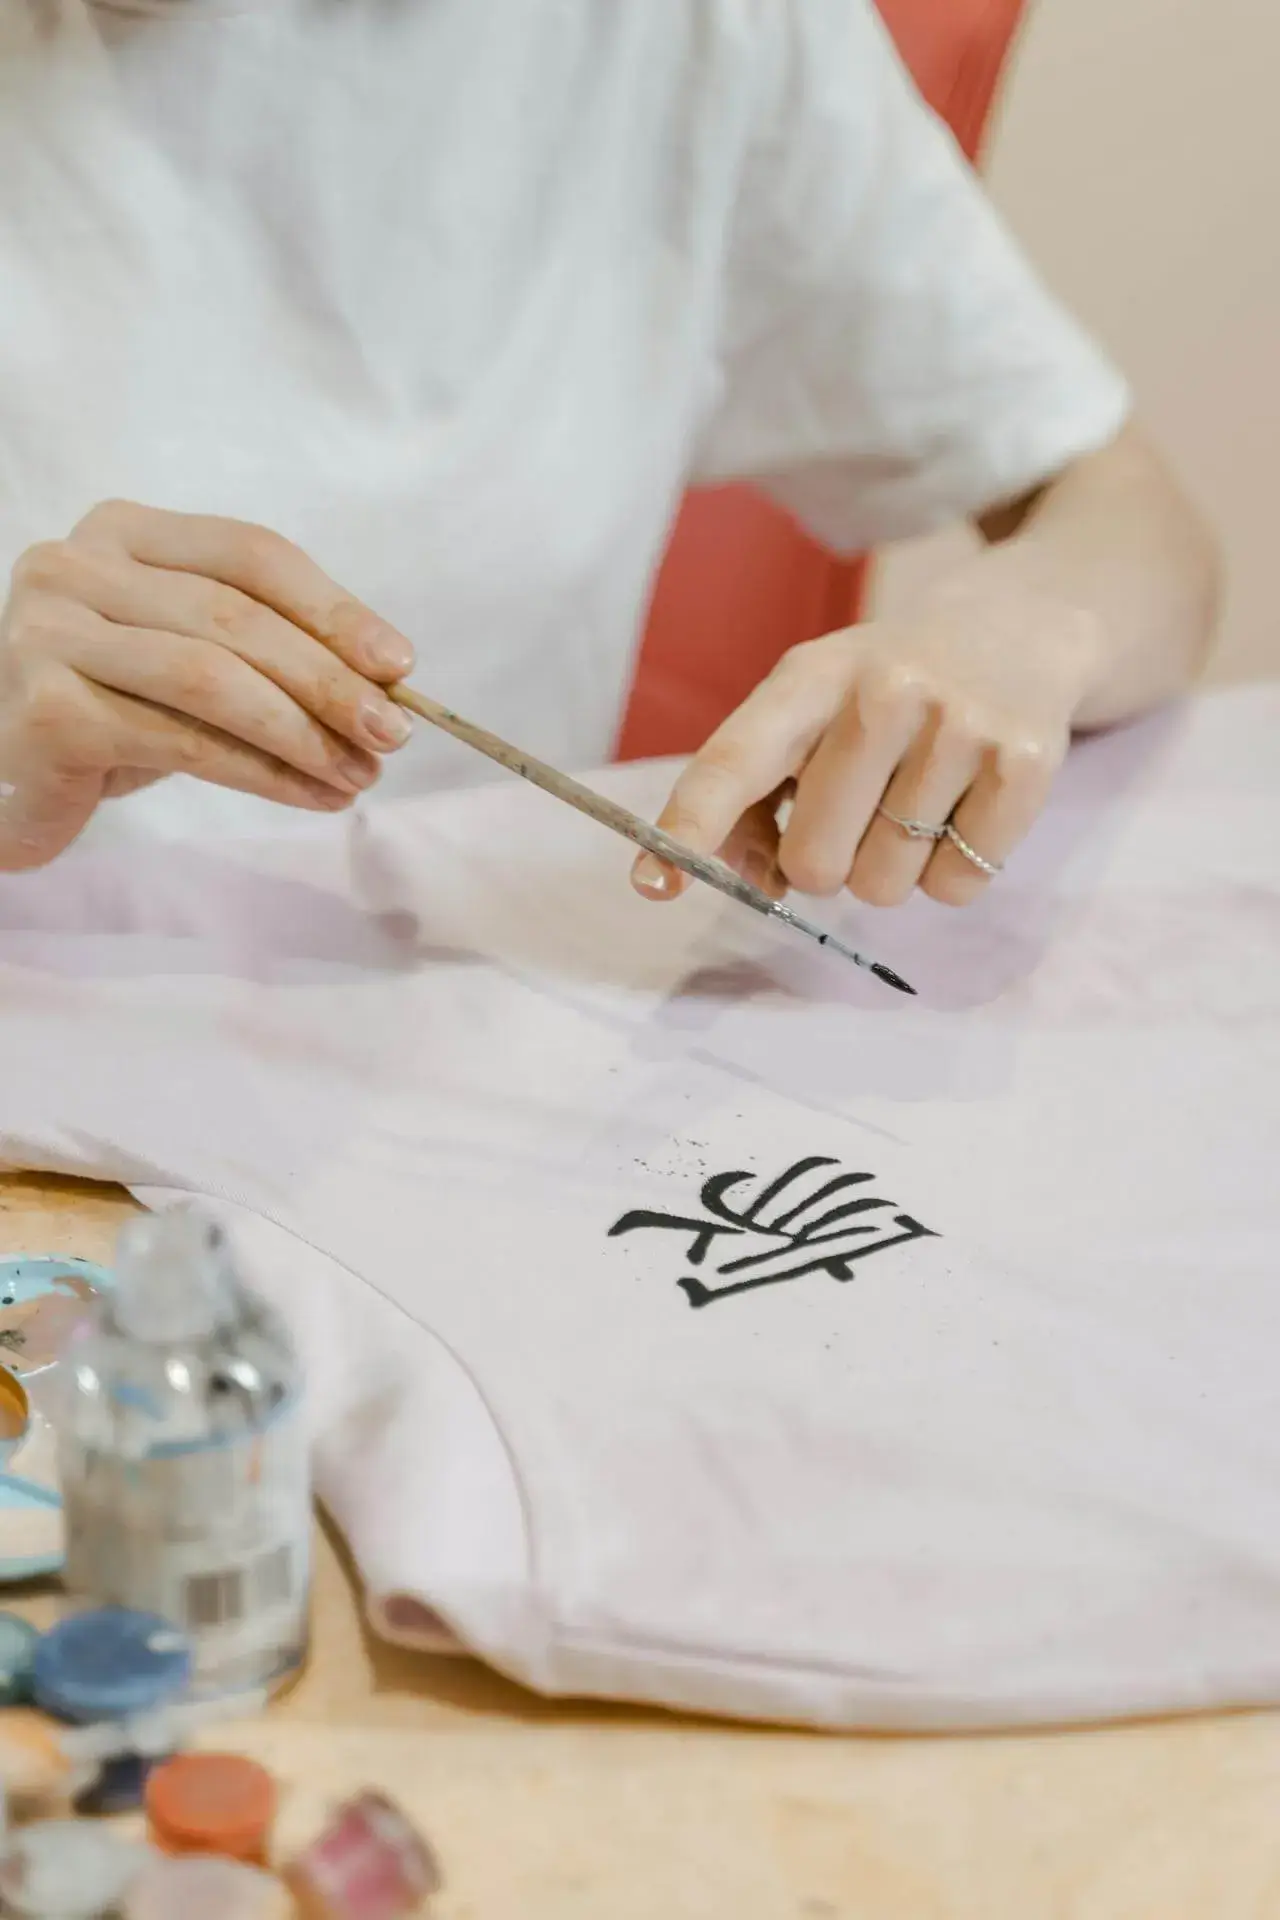
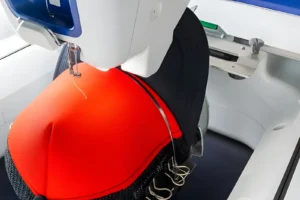
A great embroidered design starts long before the machine starts running. If the digitizing file isn’t optimised correctly, even the most expensive embroidery machine will produce a poor result. Here are the five most common digitizing mistakes — and exactly how we avoid them on every order.
Mistake 1: No Underlay Stitches
Underlay stitches are the foundation layer placed before the main design. They stabilise the fabric, compress the fibres, and give the top stitches a stable surface to sit on. Without proper underlay, the top stitches sink into the fabric — especially on knits, towelling, and fleece — resulting in a blurry, unregistered design.
Fix: A professional digitizer applies the correct underlay type (edge run, zigzag, or centre run) for each design element and fabric combination.
Mistake 2: Incorrect Stitch Density
Stitch density refers to how closely stitches are packed together. Too dense and you’ll get needle breakage, bobbin thread showing on top, and stiff, straw-like fabric. Too light and you’ll see the base fabric through the design.
Fix: Density must be calibrated for both the fabric and the stitch type. Satin stitches on caps need different density than fill stitches on a cotton shirt.
Mistake 3: Ignoring Pull Compensation
When thread is pulled tight through fabric, it compresses the design slightly — a phenomenon called pull. Without pull compensation (slightly oversizing elements to account for this), rounded shapes become oval, borders don’t align, and text appears narrower than intended.
Fix: Each stitch element should have pull compensation values set according to the fabric type, stitch direction, and garment structure.
Mistake 4: Wrong Stitch Sequence
The order in which design elements are stitched matters enormously. If the machine jumps all over the design — stitching the bottom, then the top, then back to the bottom — you get excessive trims, registration errors, and extended run times. Long jump stitches are also more likely to snag.
Fix: A well-sequenced digitized file moves logically across the design, minimising trims and jump stitches, and reducing the chance of registration drift.
Mistake 5: Small Text That’s Not Optimised
Text below 5mm height is notoriously difficult to embroider clearly. Auto-digitizing software often uses satin stitches at this scale, which causes the letters to blur into each other. At small sizes, running stitch (single-needle outline) or bean stitch often produces a crisper result than satin.
Fix: Small text requires a digitizer who knows when to switch stitch types — and when to recommend the client increase the size for legibility.
The Bottom Line
Every one of these mistakes is avoidable with professional digitizing. Our team has seen them all — and our files are manually checked before delivery to ensure clean density, proper underlay, correct compensation, and logical sequencing. That’s why our stitch-outs look right, first time.